Saturday, March 15, 2014

Toadally Cute Layout

I usuall do two page spreads, but I'm hoarding my old CM albums and don't want to fill them up too quickly.  I'm hoping before I use them up, someone will come out with a good substitute.  And sometimes, the pictures I have are better suited to one page.  That was the case here.


My mother in law came over and without a pattern, in no time at all, whipped up these cute little aprons.  The fabric is pink with leaping frogs.  The girls loved them!  The background paper came from Stampin Up.  I'm not sure what font I used to spell out "Toadally Cute."
 
 
The frog came from Create a Critter. His lily pad was on there, too.  The cat tails came off Art Nouveau and I just trimmed them up to fit.    It's hard to tell in the picture but the frog was run through the Swiss Dots Cuttlebug folder.
 

The cattails were accented with suede paper so they are as soft and velvety as the real thing!


Thursday, March 13, 2014

Cuttlebug Embossed Cuts

I love the look of embellished cricut cuts.  I often add extra layers for dimension, or use jewels for eyes or buttons.  I like the look of cuts accented with ink or chalk.  But my favorite is running parts of them through the cuttlebug.  It makes a huge difference!


This cutie came of the Create a Critter cart.  His top layer was embossed using the snake print cuttlebug folder.  Isn't he cute?
 
 
This football corner came from All Sports (or maybe Total Sports??) and was run through the Dots folder.  Everyone who looks at this page has to touch it!
 
 
This adorable Snow Angel came from the Snow Day cart, which I actually bought for just this cut (I have used a few off the cart but it was this cut that sold me!).  I put her scarf through the houndstooth folder for a little texture.
 
So those are just a few examples of cuts accented with the cuttlebug and what a difference a little texture makes.


Tuesday, March 11, 2014

Old West

When I first saw this cartridge, I though, "Here's one I can pass on."  Ha!  Some of the images are sooo cute and once I started seeing what all the Cricut messageboard enablers were making, I had to have it.  I've used the fence alone half a dozen times, and I adore the cute, smiling horse.  So I made a page far more elaborate than the photo called for, but I love it.

This is the finished page.  I used DCWV photo real paper for the sunset background.  I free hand cut the grassy hill from the same stack.  I cut the Old West images out of Stampin Up cardstock.  I cut extra grass pieces to layer up for more dimension.  GiddyUp came from Create a Friend. 

 
I used a ton of foam tape to raise the fence so that the horse could be behind it.


I used my trusty Fiskars woodgrain plate on the fence boards-still haven't found a cuttlebug woodgrain folder, but I check ebay every now and then. I used the Stampin Up markers to accent the horse and doubled up the mane pieces for more dimension.
 
The barn came together easily. Again, I used a double layer, this time on the hay coming out the window.


Lastly, I used the horseshoe cut for a small and simple journaling box.


Thursday, March 6, 2014

Cricut Everyday

I was one of the ones who was excited when Cricut Everyday was announced as our Circle cartridge.  I had visions of an organized and decorated scrap room, all in shades of pink and green, with labels made fom this cartridge.  Ha, ha, ha!  My scraproom is a disaster, all my labels are haphazardly slapped together and when I have time, I use it to scrap, not organize. Still, I had the perfect pictures to go with the icons on the cart.

My wonderful parents still give me money at Christmas and one year-Jan 2007- I used it to buy the expression.  I'd had a baby bug I bought thinking I would only use it for making letters, so I wouldn't run out of E's anymore.  But I fell in love with the die cuts and all the cute images (though there were a lot less back then).  I bought the expression and Animal Kingdom and before  I could try it out my daughter and my niece were clamoring for a turn.  My daughter loves pink, and pigs, so her choice was easy.  My niece loves blue and dogs, but decided on an elephant (don't worry-since then I have added MANY carts and she has plenty of doggie cuts to choose from!).

So I created this simple page using the pictures of our first cuts on the E.  I cut the expression off CE pretty small, and some of the pieces were hard to work with at only 2 inches, but not too bad. 

 I trimmed down the background paper using my old Creative Memories trimmer with the antique edge.  Still love it after all these years.  The bug head, caught the bug and the expression came from CE.  The green shape under the tiny E is a spellbinders die.  In restrospect, I could have made the E a little bigger.

Wednesday, March 5, 2014

Rollerskating with Heat Transfer Vinyl

Our town rec department hosts a rollerskating night once a month. If the kids dress to match the theme, they are entered to win a door prize.  My daughter and niece get custom shirts for most of the themes, courtesy of my Cricut and HTV.


For Valentine's Day, I made the above shirts with intricate hearts off LoveStruck.  I used Siser Glitter HTV and as usual, it cut beautifully, even on the intricate cuts.


For a winter theme, I used the fuzzy vinyl, the iron-on flock.  The polar bears came off Joys of the season.  I did their scarves and the snowflakes in glitter.


Fora winter sports themed skate, we used the ice skater off Winter Woodland, then added some more glittery snowflakes, I think off Accent Essentials. 
 
 
I'm going to order some glow-in-the-dark HTV for upcoming skates.
Thanks for looking.

Monday, June 17, 2013

The Rest of the Museum HTV shirts

Here are the rest of the shirts I made for the science museum field trip:


The triceratops fossil and t-rex came from Dinosuar tracks.


The map, telescope and steam engine came from My World, an oldie but a goodie!


The bears came off the Wildlife lite.  I also did a goose, but somehow neglected to take a picture.


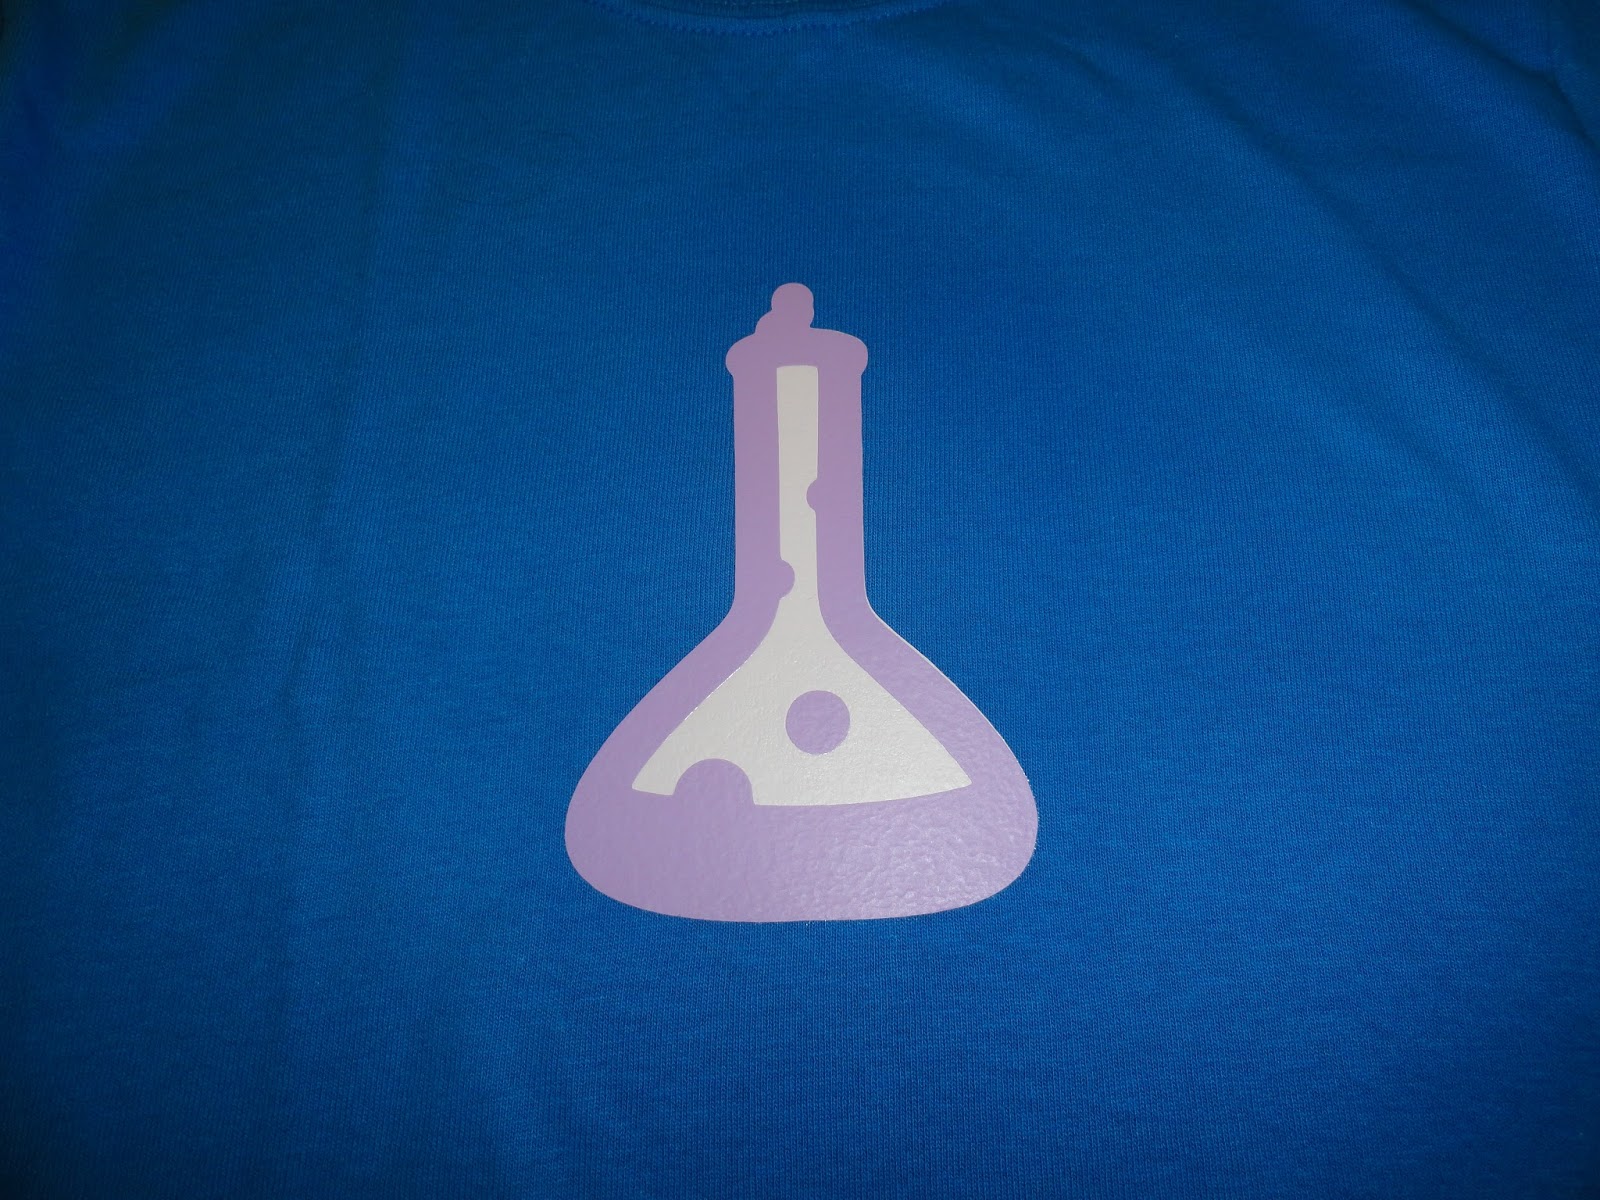
The beaker and computer screen came off another oldie, Cursive 101.
Thanks for lloking.

Tuesday, June 11, 2013

More HTV Shirts Part 1

I have FINALLY finished my master's degree.  It feels amazing to have no homework to do!  I am getting back into scrapping with a vengeance.  My daughter's class went to the Boston Museum of Science (as, apparently, did every other class in new England on the same day-it was so crowded).  In kindergarten, there were only 12 students in her class, so making shirts wasn't too time consuming.  We are up to sixteen kids, but it's my thing now, I can't quit.  The kids expect it.  Let's hope that we don't get too many more kids in her class!

I went to the museum's website and reviewed the exhibits, then picked things from the exhibits that I had on my cricut carts.  The kids each got a shirt with a different design, and had to find whatever was on their shirt during their visit to earn a tootsie roll.  Some of them really got in to it, and made sure to take a picture of themselves in front of the corresponding exhibit. 

I used Siser Easyweed heat transfer vinyl that I bought from craftvinyl.com and h&hsignsupply.com, my two favorite places to order.  Craft vinyl has amazing customer service.  H&H Sign Supply offers customizable five packs of vinyl.  I've never been disappointed with either vendor.

I used my old expression and my E2, with blade, pressure and speed on 3.  Vinyl cuts smooth and easy, even tiny, intricate images.  I know some crafters have used vinyl in paper projects when they needed really small details, because it's presticky and cuts so well.  For HTV, the important thing is to remember to flip the design, especially if you are doing any words, so that it will be the correct orientation when it's ironed on.  I didn't take any pictures during the process, but I have more shirts planned so I will next time, so you can see how to weed and all.  However, there are much better tutorials than I can do all over the web.  Both the websites I mentioned above have videos of the process.

So here they are!


The light bulb came from one of the carts preloaded on the E2, I think it's Cricut Alphabet.  The butterfly is from Art Philosophy.  Both were cut at 5 inches.  These are the only two that used glitter, and  I felt a litle guilty about playing favorites, but I didn't have enough glitter on hand for all the girls (there are ten).  My daughter picked the butterfly and the light bulb was for her good friend who was at our house when we were making the shirts. 


The cute chick came from Creat a Critter.  My plan was to have the pieces of the shell lying next to the chick, so I cut the whole chick and ironed on little feeties and then my daughter insisted on covering him up! I didn't cut the bottom layer, just left his eyes as circles so the blue of the shirt would show through, in order to conserve time and vinyl.  He, too, is cut at 5 inches.  they pretty much all were cut the same size.  I picked 5 inches because I could fit four on one piece of vinyl and they were big enough to stand out on the shirts.


I think this one is my favorite. The image came from Dr. Checkup.  The heart is a shimmery vinyl and looked great against the black.


The lightening came off Indie Art.  There are some great sciency icons on Indie Art that I ended up using for the chaperones, like the biohazard sign and the radioactive symbol.  I didn't think to take pictures, though.


This robot came off Brooklyn Iron-on.  As soon as I saw that cart, I wanted it for this museum trip.  There are so many science things on there: the ion I put on my shirt, the ancient floppy disk...But for the kids, I ended up changing my mind.  They are only in second grade so while I did teach them all to count electrons and tell me if my ion was + or -, I wanted things they'd recognize and be able to find in the museum.  But I have lots of plans for the cart later!  I ordered the Boho iron on, too, even though I have no real plans for that one.  My cricut sisters will understand I had to have it anyway!

So that's enough for today, I'll add more tomorrow.  Thanks for looking!